


Featured Recipes
")
Get Baking Tips & Recipes in Your Inbox.
Baking Essentials


Rachel Jugai
Professional Baker
Hi! My name is Rachel Jugai (Maude) and I am a self taught baker living in San Diego, California.
I discovered my passion for baking when I started baking cakes and cookies for co-workers at my corporate job. I have been addicted to baking ever since. Baking for me is therapeutic and not a rushed process.
While baking, I am reminded of the holidays when my mom, sister and I corralled into the kitchen to make all sorts of yummy goodies. So naturally, every creation comes directly from my heart and is made from a nostalgic place!
Latest Blog

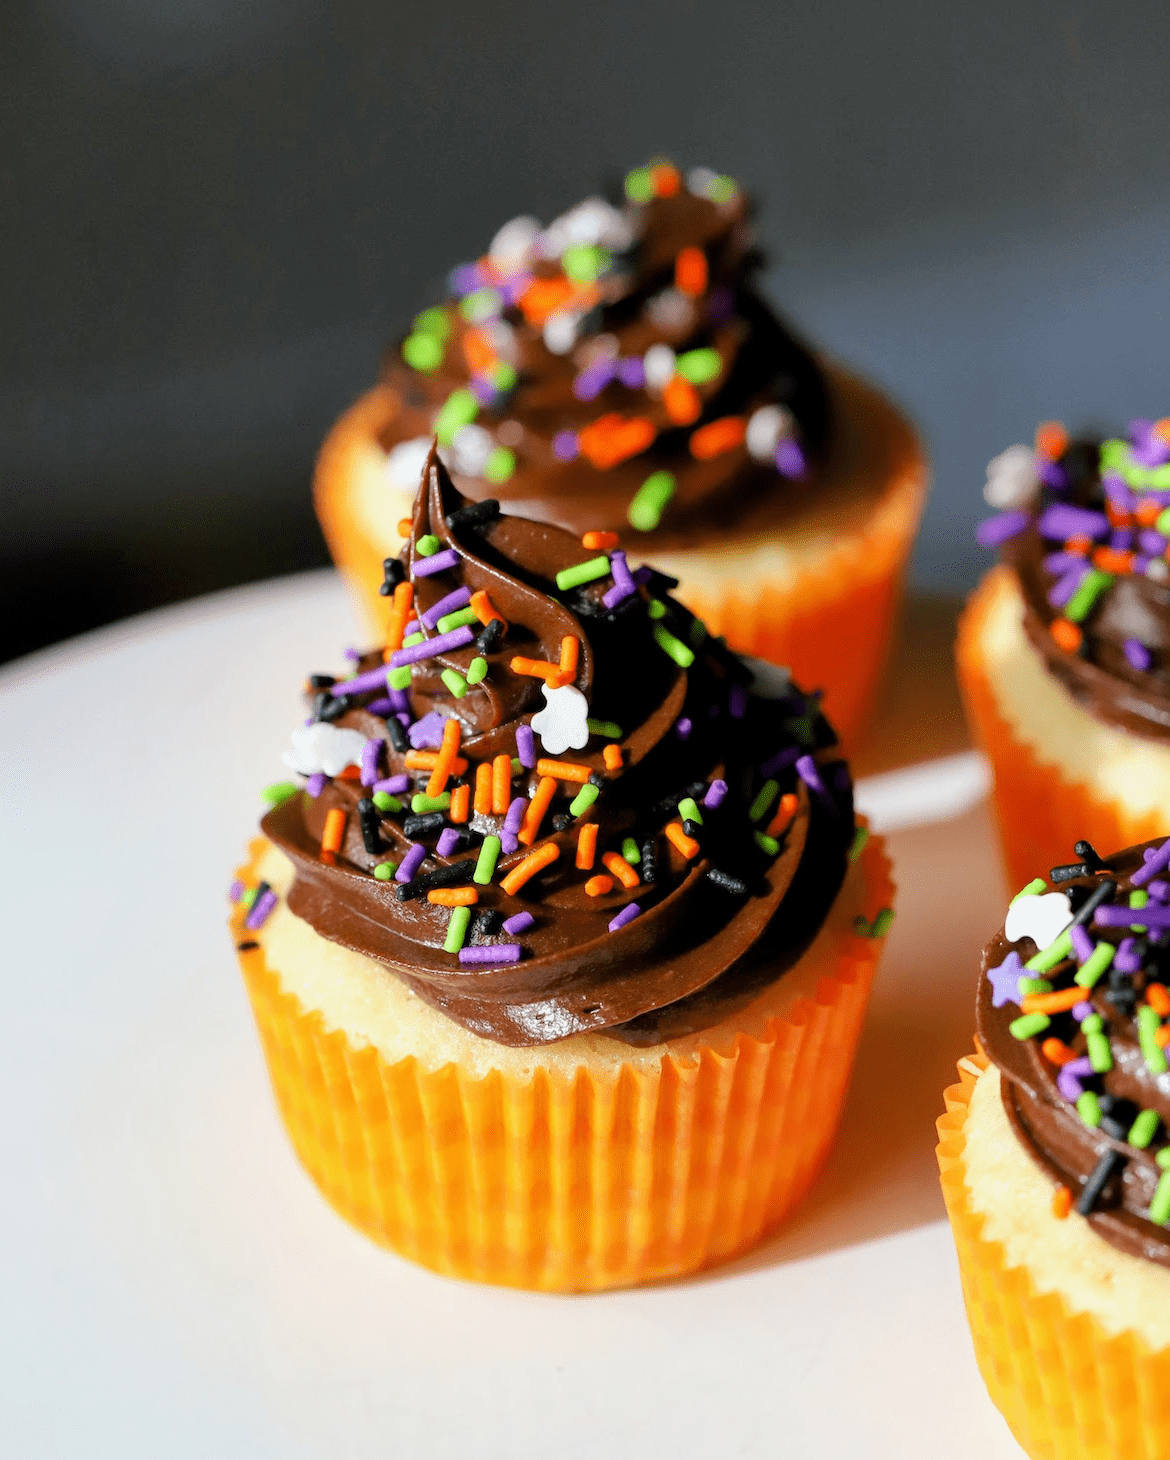
What to do 1. Preheat your oven to 350°F (175°C). Line a 6-cup muffin tin with cupcake...

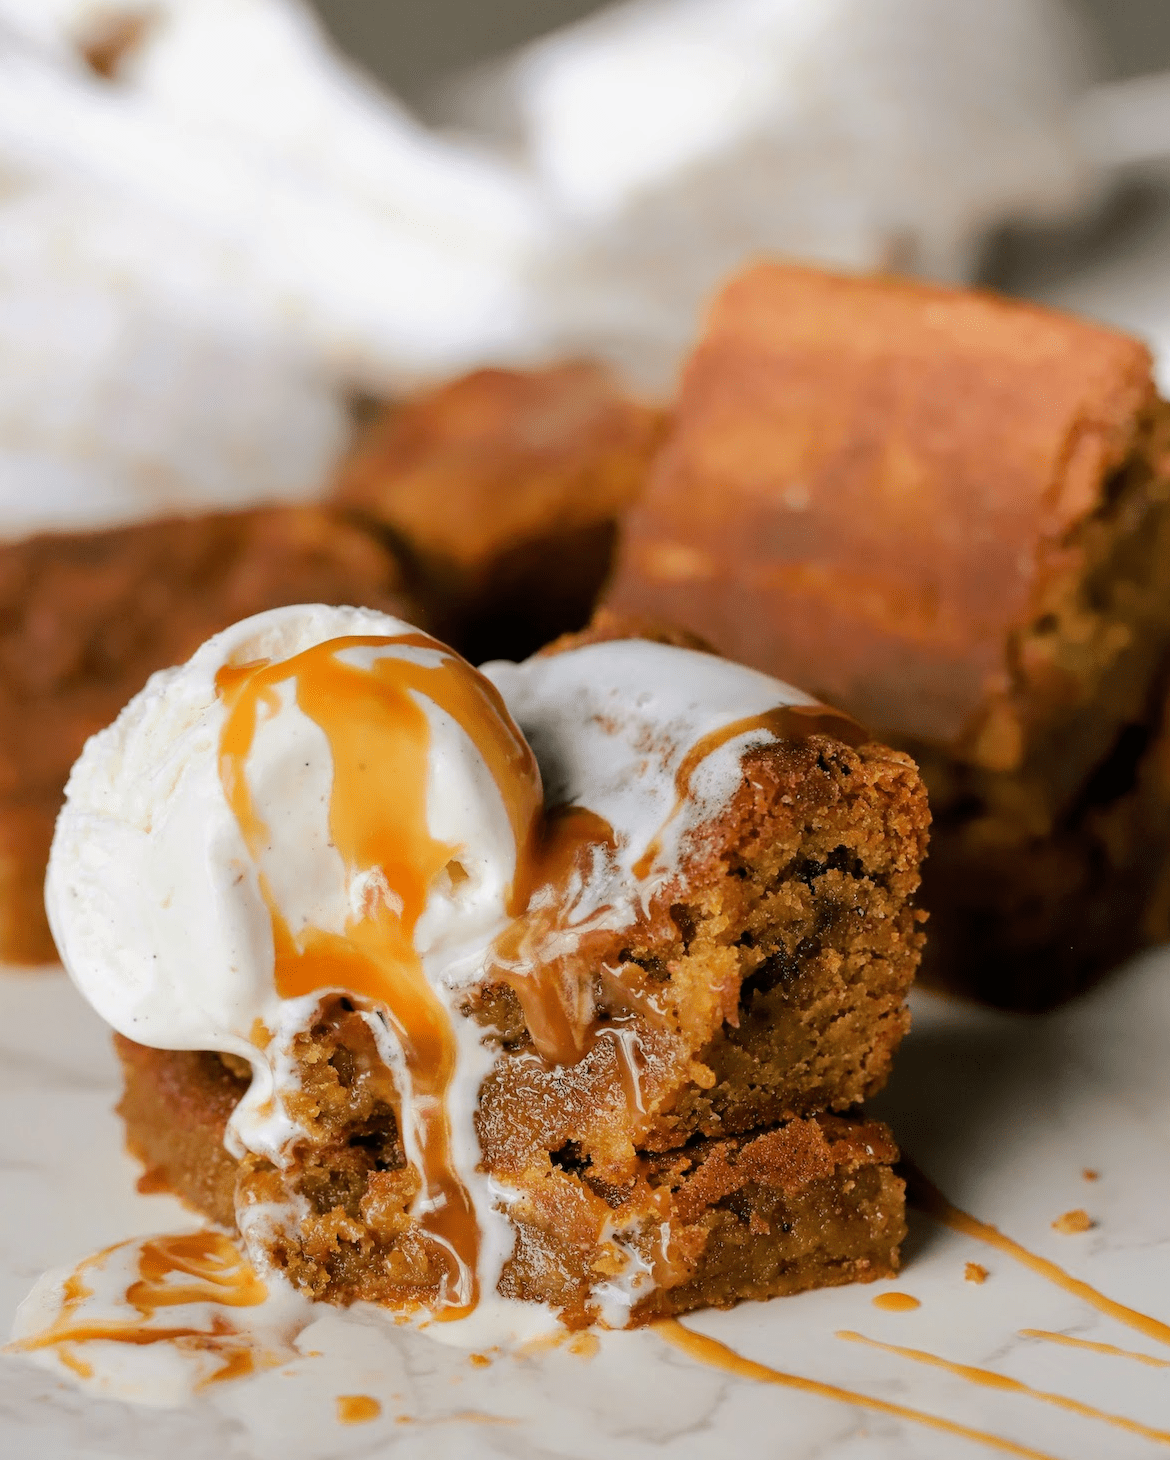
What to do 1. Preheat oven to 350°F (175°C). Line an 8×8-inch (20×20 cm) pan with...

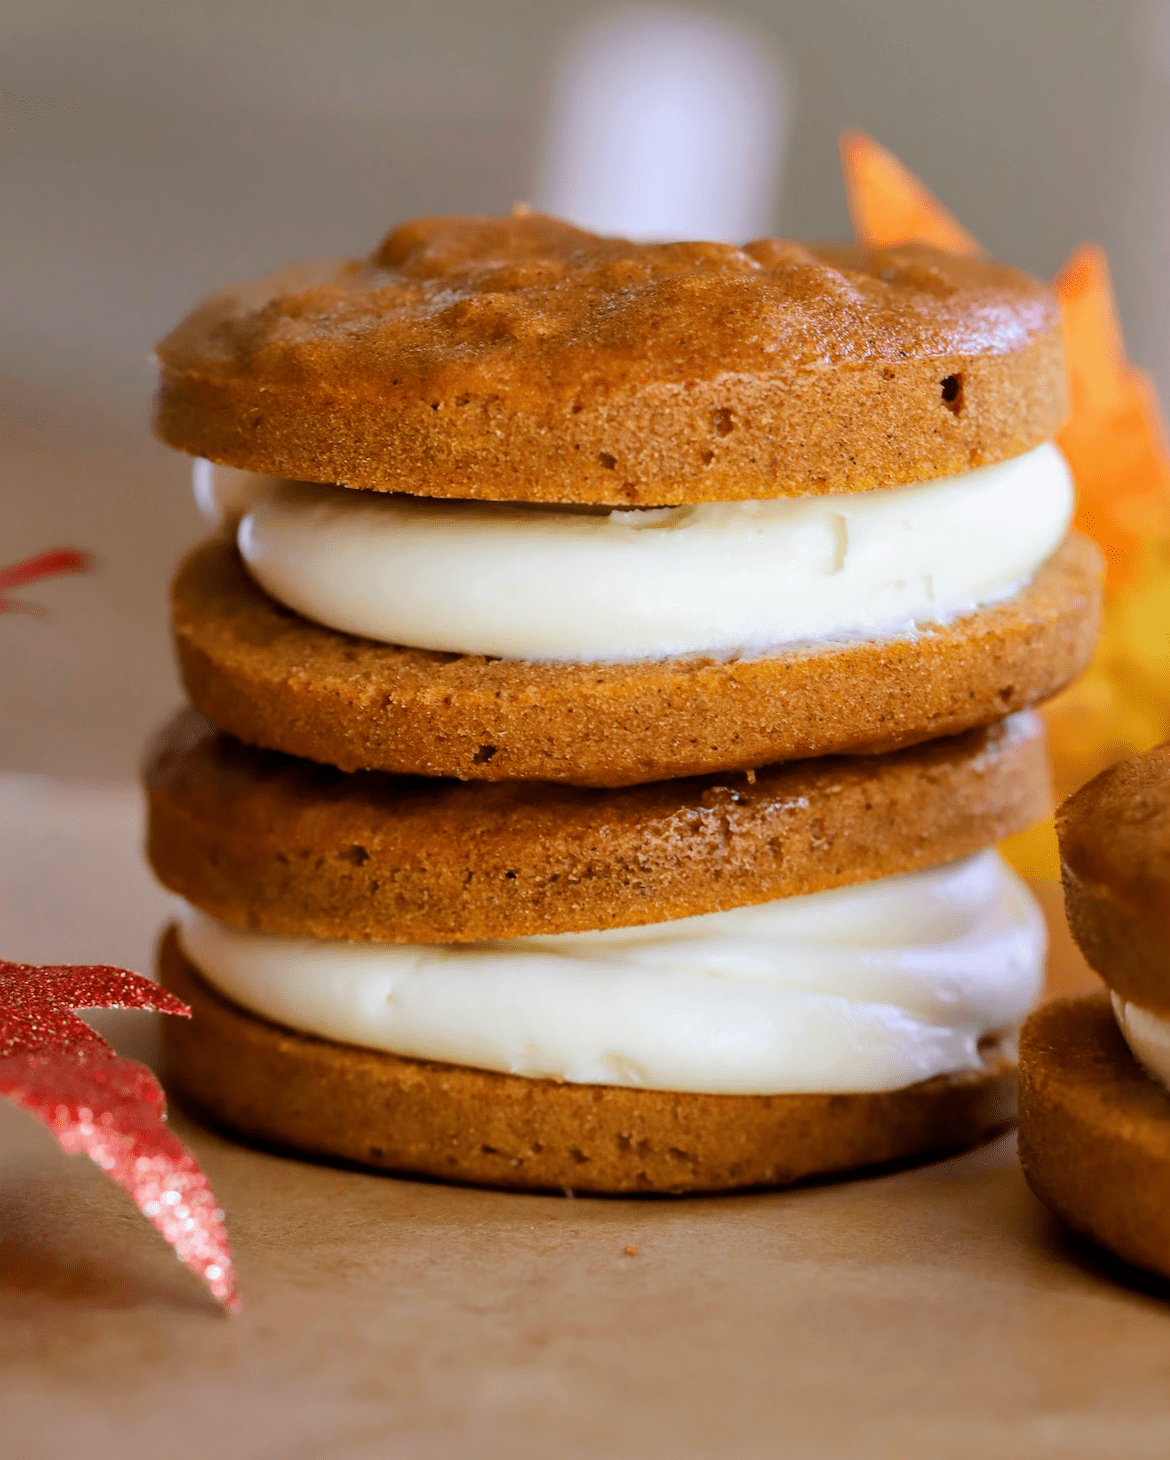
What to do 1. Preheat oven to 350. In a large bowl, sift all dry ingredients (flour,...

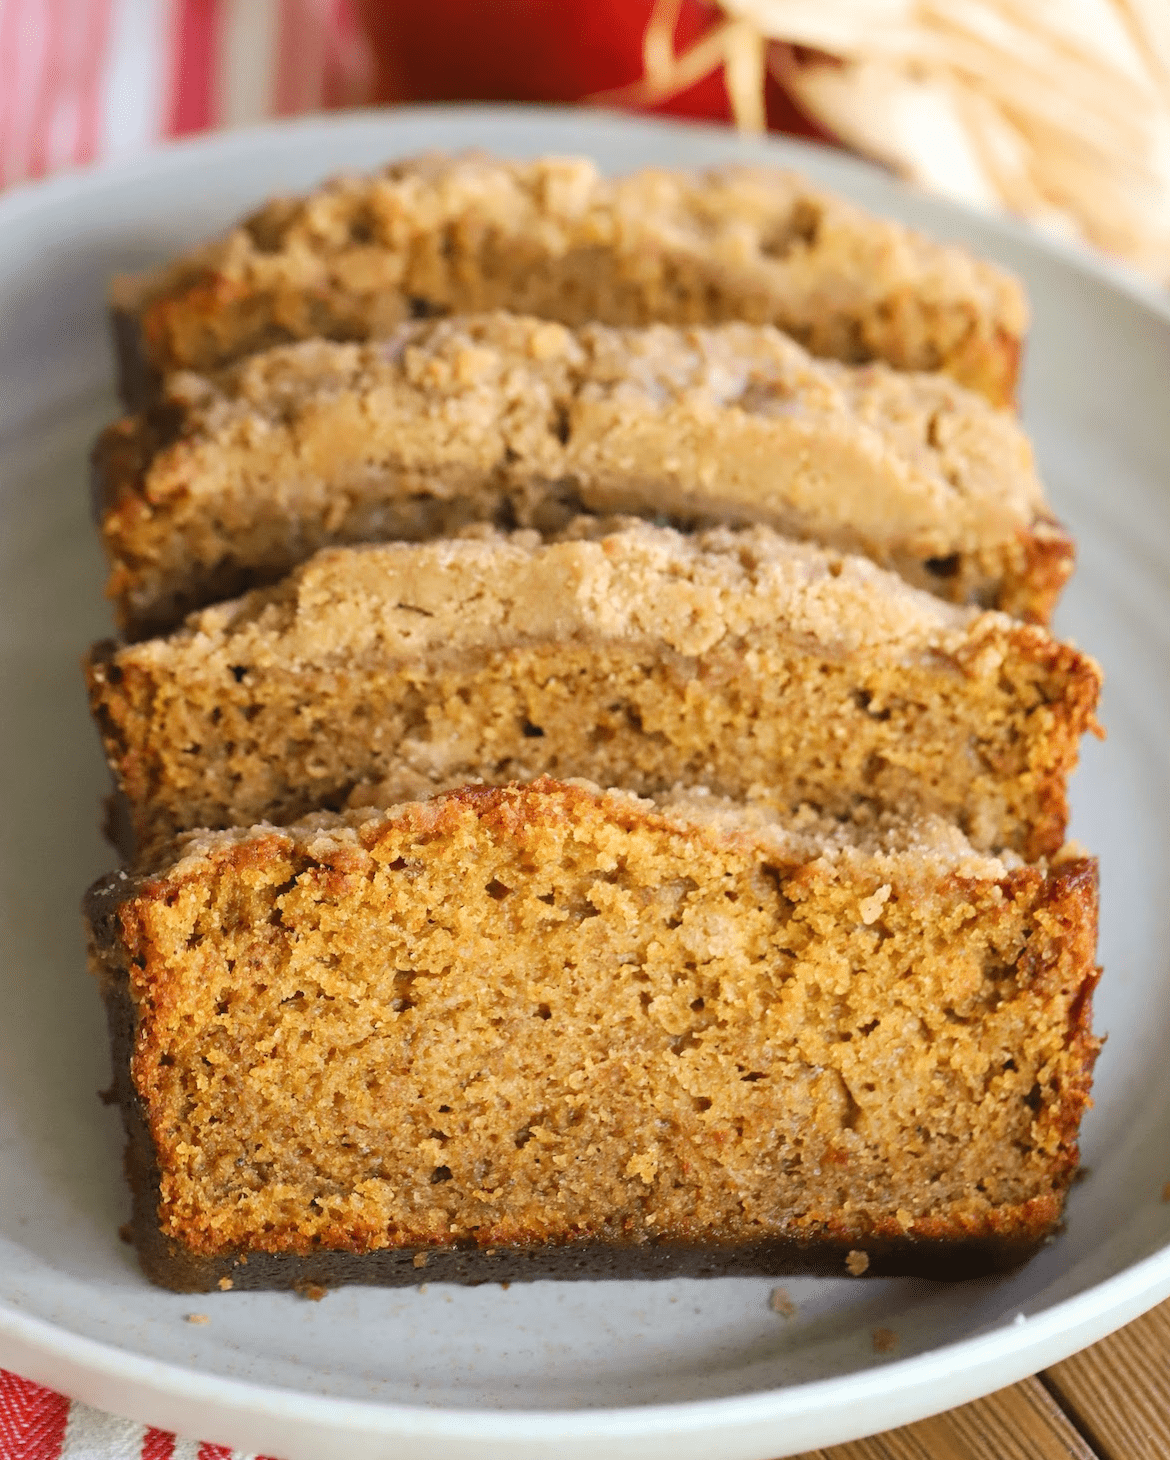
What to do 1. For the crumble topping, to a large bowl, add flour, sugar, spices and...

What to do 1. To brown the butter, place both sticks of butter (wait on the additional...

What to do 1. Using a stand mixer with paddle attachment, beat sugars and butter on...

What to do 1. To brown the butter, place 8 tbsp of butter in a medium saucepan over...

What to do 1. Place flours, yeast, salt, honey, cake batter extract and olive oil...

What to do 1. In a heatproof glass or bowl, heat the milk to about 115°F (46°C)....

What to do 1. Preheat your oven to 350°F (175°C). Line a muffin tin with paper...