Ingredients
Cake
- 12 oz bananas, mashed
- 3/4 cup granulated sugar
- 1/2 cup light brown sugar, packed
- 1/2 cup extra virgin olive oil
- 1/4 cup sour cream
- 2 large eggs
- 3/4 tsp vanilla extract
- 1/2 cup buttermilk
- 2 cups all-purpose flour (*spooned & leveled, see note below)
- 1 tsp baking soda
- 1/4 tsp baking powder
- 1/2 tsp cinnamon
- 1/2 tsp kosher salt
- 3/4 cup chocolate chips
Brown Butter Peanut Butter Frosting
- 3/4 cup butter
- 1/2 cup peanut butter
- 1 tsp vanilla extract
- 1-1/2 cup powdered sugar
- Pinch of salt
- 2-3 tbsp milk
What to do
1. For the frosting: To brown the butter, place butter in a medium saucepan over low/medium heat and melt. Continue to cook until butter starts to foam and release a fragrant odor. It will smell nutty and glorious! Keep cooking until butter turns a deep golden brown, then remove from the heat, pour immediately into a heat safe bowl. Let the butter cool (*see more notes below).
2. Once butter has cooled, place in stand mixer with paddle attachment, along with peanut butter. Mix on medium until the two are incorporated. Add vanilla, powdered sugar, salt and milk. Mix until everything is homogeneous. If mixture is too thick, add a little more milk. Set frosting to the side.
3. Preheat oven to 325 degrees. Grease a 13×9 pan, and place parchment paper on the bottom. For the cake, in a large bowl, mash bananas, then add sugars and whisk by hand. Add eggs, olive oil, buttermilk, vanilla and sour cream. Sift in dry ingredients. Mix well but gently. Fold in chocolate chips.
4. Pour batter into prepared pan and bake for 45 minutes (*ovens vary) or when toothpick is inserted and comes out clean. Cool cake pan on a wire rack for about 1-2 hours. As cake cools, run a knife along the sides of the cake pan, this will help with releasing the cake later.
5. When cake has cooled, place a serving tray on top of the cake, then flip the cake so the bottom of the pan is now on top. Slowly, lift cake pan and remove parchment paper.
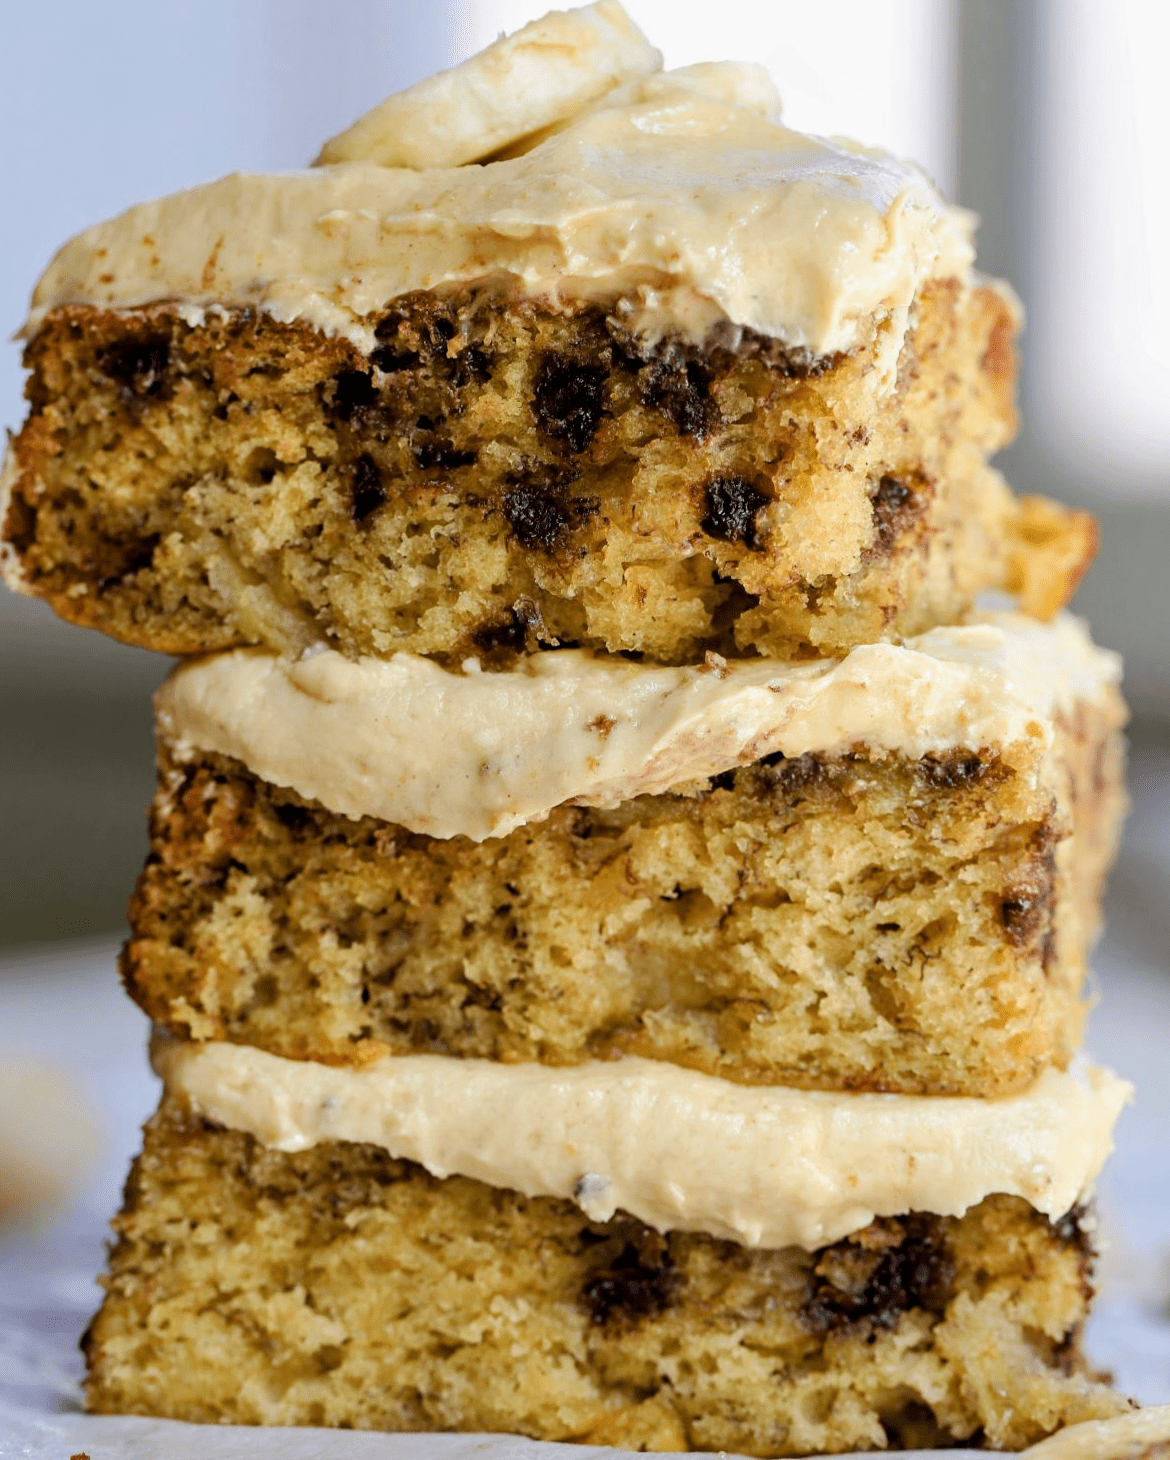
6. Frost generously, slice AND SNACK AWAY!!
FAQ’s
Helpful tips
Here are some important Pro tips by Maude
- Making brown butter can be a little tricky. As you cook your butter, it will take a while for it to foam and release the nutty fragrance. Don’t get discouraged or impatient- it takes several minutes. Also, do not leave the butter in the pan once it has browned, it needs to be removed from all heat and transferred to a heat safe bowl. Make sure to get all the brown bits out of the pan too- those bits have all the flavors!
- When measuring the flour, you want to spoon the flour gradually into the measuring cup. Do not scoop and level (this yields more flour than you need). Spoon in flour and scrape/level the top with a knife.
- As you mix the cake batter, you ~gently~ want to mix well and make sure that no flour streaks are visible. When you pour the batter into the cake pan, it you see any flour or dry ingredients, smooth out with a spatula.
If you try this recipe, I would love your feedback! Please leave a star rating, a comment below or on the reel in Instagram! Also please share what you made and tag @eatmaudes !! Thank you so much for stopping by and making yumminess with me!


