Ingredients
**This post contains affiliate links. If you use these links to buy something, I may earn a commission at no extra cost to you
Equipment Needed
Peanut Butter Cookies
- 1/2 cup natural peanut butter, well-stirred (128g)
- 1/4 cup unsalted butter, softened (57g)
- 1/2 cup packed brown sugar (100g)
- 1/4 cup granulated sugar (50g)
- 1 large egg
- 1 tsp vanilla extract (2.5 ml)
- 1/2 tsp baking soda (2g)
- 1/8 tsp salt (about 1g)
- 1 tsp cornstarch (3g)
- 1 cup all-purpose flour (120g)
- Marshmallow fluff
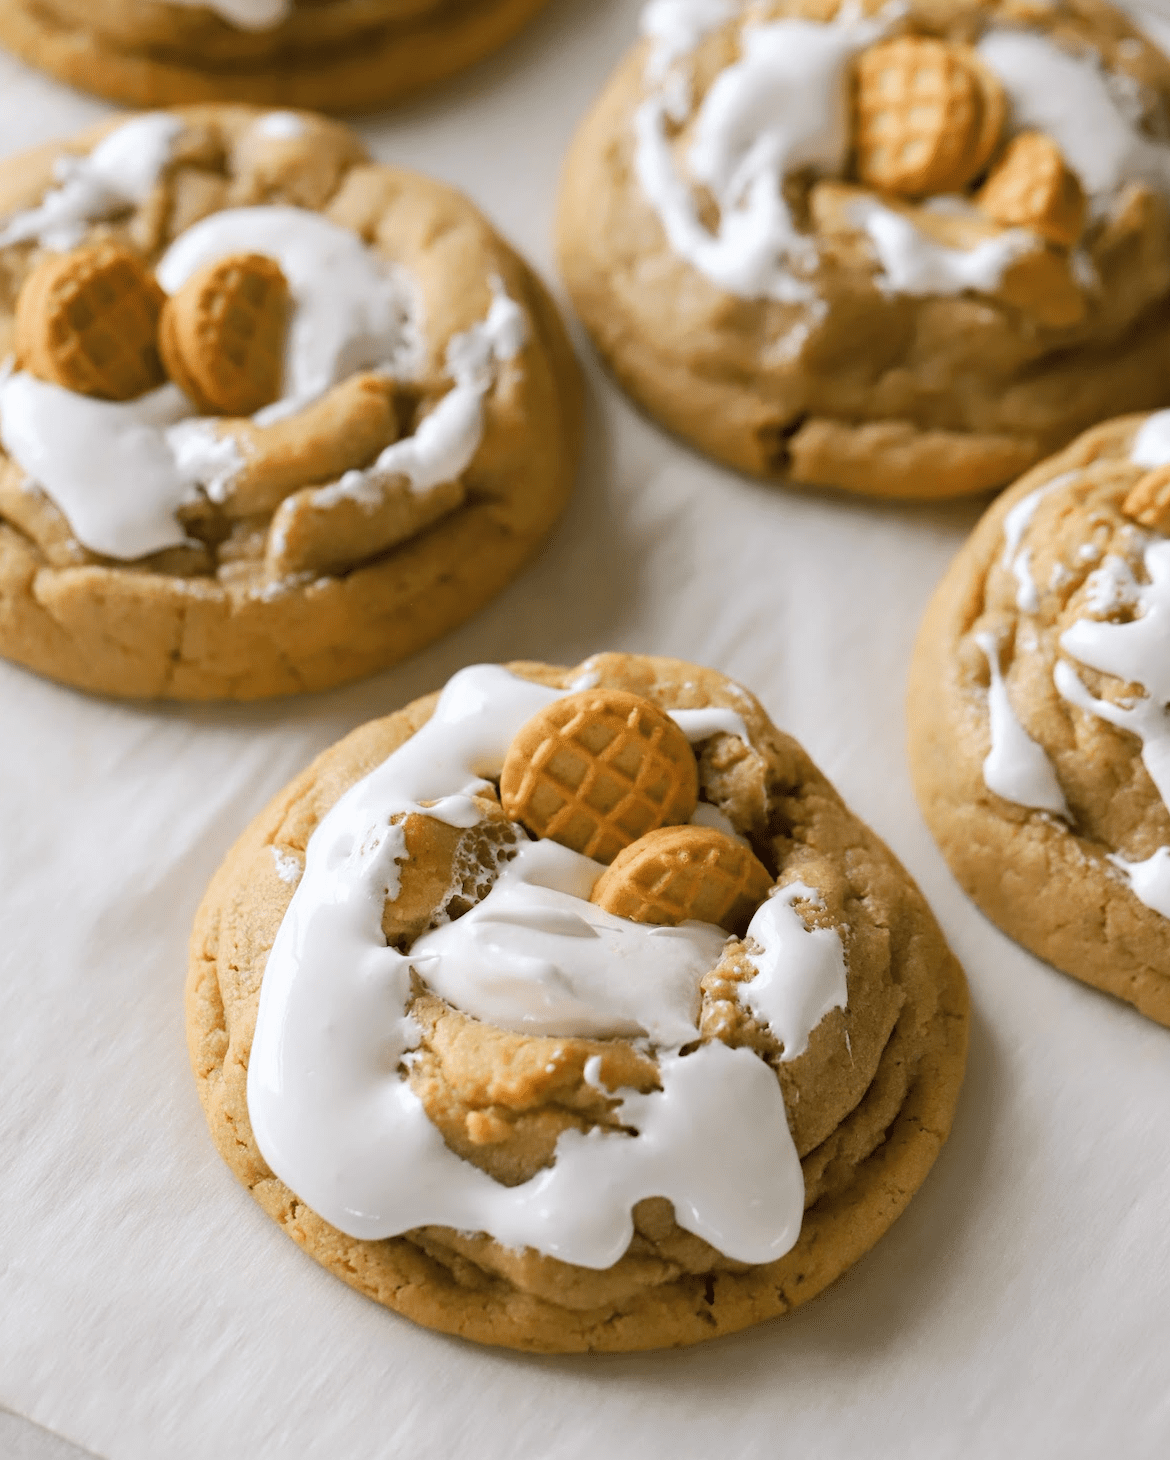
- Nutter Butter cookies (optional for added flare!)
What to do
1. To begin, line a baking sheet with parchment paper (or a silicone baking mat works).
2. In a large bowl, using a stand mixer with paddle attachment (hand mixer also works!) cream together the peanut butter, unsalted butter, brown sugar, and granulated sugar until light and fluffy (1–2 minutes). Add the egg and vanilla extract. Mix until fully combined. Add baking soda, salt, cornstarch and flour. Mix just until the flour disappears—do not overmix. (Note: By the time I add the flour, I switch to a rubber spatula to bring everything together. This manual method is great because you are less likely to overmix the dough)
3. After mixing the dough, we want to divide the dough into 10 smaller cookies or 5 large cookies. I use an ice cream scoop to achieve uniform cookies.
4. Roll each portion into a ball and place on the prepared baking sheet, spacing them 2 inches apart. Gently press your thumb into the dough, creating a hole. Then spoon the marshmallow fluff into the hole and close up the dough. (Note: As you close up the dough, it should be pushed up and the marshmallow fluff should be at the top middle. The marshmallow fluff won’t be completely covered, that is okay) At this point, I like to gently cover the dough with plastic wrap and then chill my cookies in the fridge for at least 3 hours (or overnight if you can wait! see note below). If you are short on time, pop the cookies into the fridge (uncovered, try to let them sit for at least 30 minutes) while you preheat your oven to 350°F/175°C degrees.
5. Bake for 9–11 minutes, or until the edges are just starting to turn golden. If baking larger cookies, bake time will be about 11-14 minutes (note: ovens do vary. the best way to know the cookies are done, the edges and sections of the top of the cookies will be golden brown) . The centers will look slightly underbaked—that is okay! Once the cookies are removed from the oven, spoon more marshmallow fluff (it will melt as the cookie cools) and add a nutter butter cookie for some aesthetic!
FAQ’s
Helpful tips
Here are some important Pro tips by Maude
- When measuring your flour, if you are not using a baking scale, be sure not to scoop your measuring cup into the flour (that is too much flour!) You want to spoon your flour into your measuring cup (spoonful by spoonful) until the cup is full. Then use a knife to scrape off the top, excess flour. This tip will ensure that you are not using too much flour in your recipes.
- Chilling cookie dough is a sure way to improve the flavor of your cookies! The chilling process allows the flour to moisten and the sugars and butter to get acquainted… which gives so much flavor to your cookies! It is heavenly! Try not to skip this step!
- Try to use room temperature ingredients. Bring your butter, peanut butter and egg to room temp before mixing. This ensures a smooth dough and even bake!
- Don’t overmix the dough. Overmixing can make your cookies tough. Mix just until the flour disappears—especially after adding dry ingredients.
More Recipes!
Here are some more cookie recipes you might enjoy!
Pistachio Cream Chocolate Chip Cookies
NYC Style Chocolate Chip Cookies
If you try this recipe, I would love your feedback! Please leave a star rating, a comment below or on the reel in Instagram! Also please share what you made and tag @eatmaudes !! Thank you so much for stopping by and making yumminess with me!


