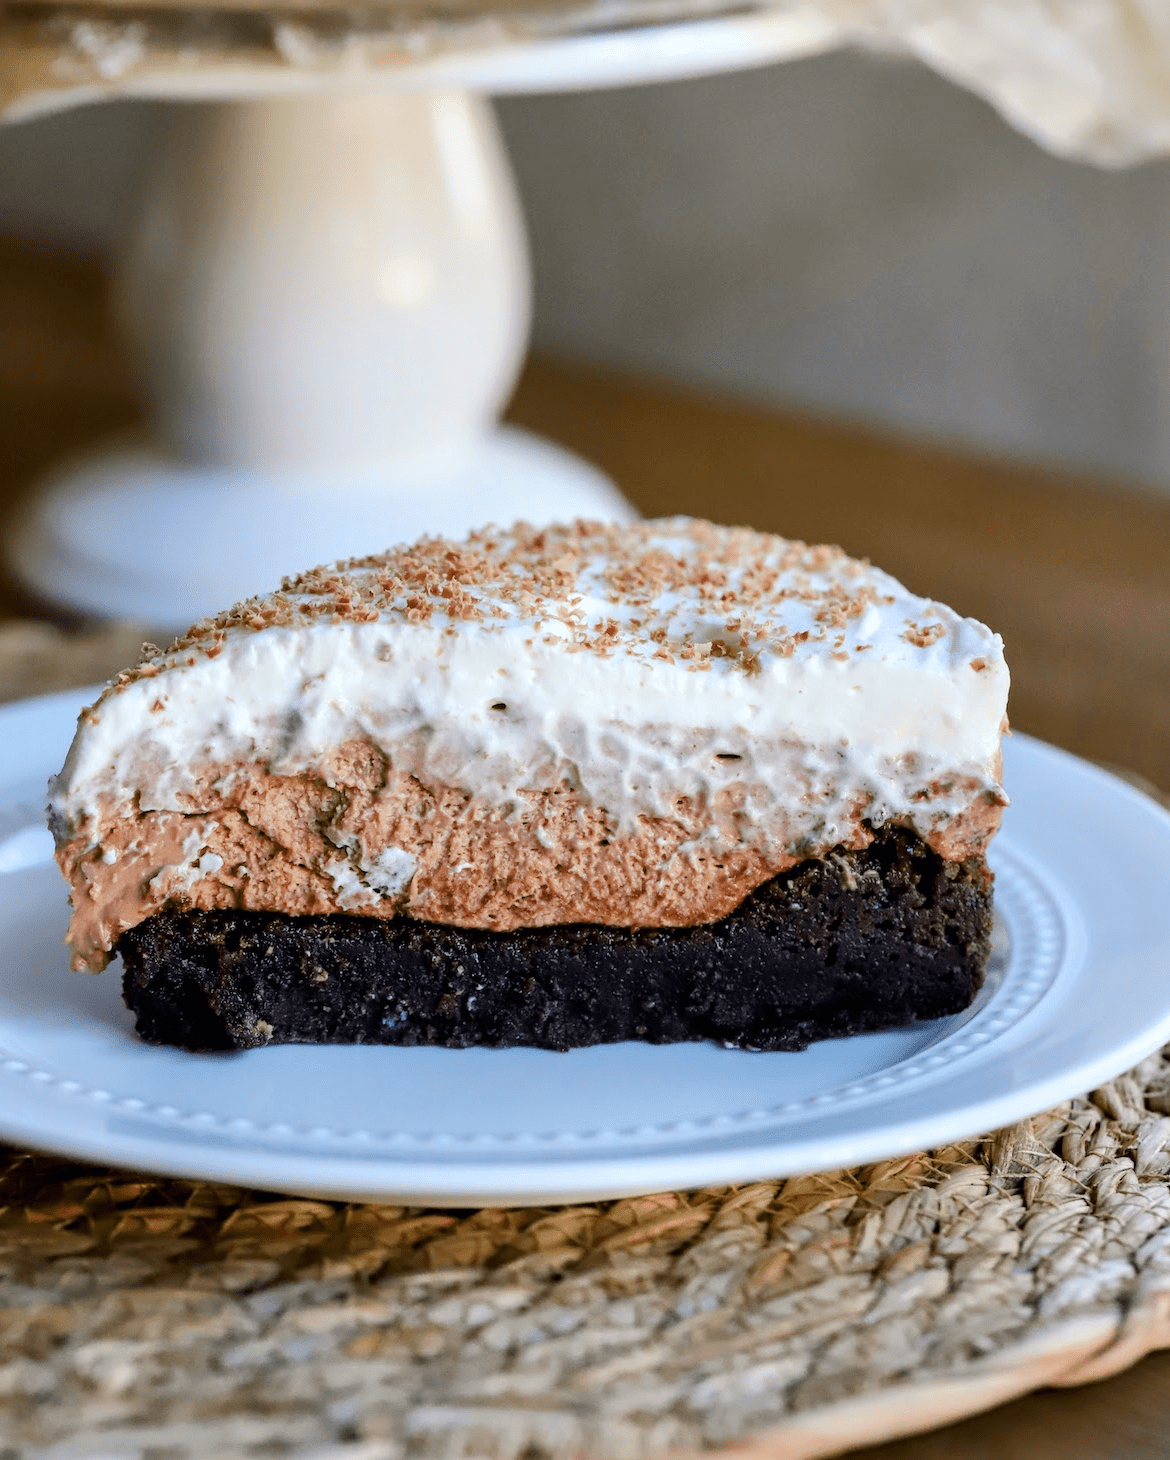
Ingredients
**This post contains affiliate links. If you use these links to buy something, I may earn a commission at no extra cost to you
Equipment Needed
- 9 inch springform pan
- Parchment paper
- Rubber spatula
- Hand mixer or stand mixer
- Mixing bowls (medium & large)
- Heatproof pyrex
Brownie Layer
- 1 cup (227g) unsalted butter
- 2 cups (400g) granulated sugar
- 2/3 cup (53g) unsweetened cocoa powder
- 2 large eggs, room temperature
- 1 large egg yolk
- 1/2 tbsp (7.5ml) vanilla extract
- 1/2 tsp (3g) salt
- 1 cup (120g) all-purpose flour
- 1 tsp (3g) cornstarch
Cheesecake Layer
- 16 oz (454g) cream cheese, softened
- 2/3 cup (80g) powdered sugar
- 1 1/2 tsp (7.5ml) vanilla
- 1/8 tsp (0.75g) salt
- 1/2 tsp (1g) espresso powder
- 200 grams (7 oz) semi-sweet chocolate
- 1 cup (240ml) heavy whipping cream
Whipped Cream Layer
- 1 cup (240ml) heavy whipping cream, very cold
- 1/2 cup (60g) powdered sugar
- 1 tsp (5ml) vanilla
What to do
1. Preheat oven to 350°F (175°C). Place parchment paper at the bottom of a 9 inch spring form pan. Seal the pan and make sure the parchment paper is sticking out the sides. See IG video for reference.
2. In a large mixing bowl, whisk together the melted butter, sugar, and cocoa powder until smooth and glossy. Add eggs and yolk, one at a time, whisking well after each addition. Stir in the vanilla extract. Mix again.
3. Sift in the flour, salt and cornstarch. Mix gently with a spatula until just combined — don’t overmix. Spread batter evenly in the prepared pan. Bake for 33-35 minutes, the sides should be set and the middle may jiggle a bit- that is okay. Let the brownie crust cool completely.
4. While the brownie crust cools, work on the no bake cheesecake layer. Place chocolate in a heat proof bowl and microwave for 15 seconds. Stir, then microwave again, stir. Repeat this process until chocolate is melted. Note: It is possible that the glass and chocolate can get too hot. When this happens, the chocolate won’t melt and will become grainy. Keep checking on the chocolate and don’t let the glass get too hot. Once the chocolate melts, add the espresso powder, stir again and set to the side.
5. Place softened cheesecake in a stand mixer with paddle attachment (hand mixer also works). Beat on medium speed until fluffy and smooth. Add powdered sugar, vanilla and salt. Mix well, then pour in the melted and cooled chocolate. Mix until smooth.
6. In a stand mixer, with whisk attachment (hand mixer also works) beat heavy whipping cream on medium speed, then increase to high speed. Once you see medium to stiff peaks form, turn off the mixer. Gently fold the heavy whipping cream into the chocolate cream cheese mixture. This could take several minutes, so be patient and try to work gently.
7. Pour the cheesecake mixture over the cooled brownies. Using a spatula, smooth the cheesecake into an even layer. Cover with plastic wrap while we work on the whipped cream layer.
8. In a stand mixer, with whisk attachment (hand mixer also works) beat heavy whipping cream and powdered sugar on medium speed, then increase to high speed. Once you see medium peaks form add vanilla, mix and then turn off the mixer. Spoon, pipe or scoop the whipped cream onto the cheesecake layer. Cover again and chill for at least 3 hours.
9. When ready to slice and serve, release the springform pan (Note: I realized that pushing the bottom of the spring form pan up and pulling the ring down is the best way to release the cheesecake. If you try to lift the ring up it could snag the crust and sides of the cheesecake, see IG reel for reference).
FAQ’s
Helpful tips
Here are some important Pro tips by Maude
- In this recipe when an ingredient calls for room temperature, try to ensure that it is room temp. For the brownies, this will achieve an even bake. For the no bake cheesecake layer, it will ensure a smooth cheesecake (no lumps!)
- To get clean slices, use a sharp knife dipped in hot water, then wipe between cuts. This helps slice cleanly through the creamy layers.
- This recipe can easily be made gluten free, as only the brownies contain gluten. Simply replace the flour with 1:1 GF and proceed with the rest of the recipe per instructions.
If you try this recipe, I would love your feedback! Please leave a star rating, a comment below or on the reel in Instagram! Also please share what you made and tag @eatmaudes !! Thank you so much for stopping by and making yumminess with me!


