

Key Ingredients
Butter – I use unsalted and this recipe calls for either melted or browned
Cream of Tartar – Provides that signature tangy flavor, but in a pinch white distilled vinegar will also work!
Dark Brown Sugar– I love dark brown sugar in this recipe- but you can use light if that is all you have on hand!
Granulated Sugar – For incredible structure and crispy edges in these blondies.
Ground Cinnamon – Contrasts beautifully with the sugar. And because of the cream of tartar, these blondies won’t taste just like cinnamon- but an actual snickerdoodle!
Fine Sea Salt – I prefer a fine sea salt (you can find at most groceries) more than table salt. This salt will balance the sweetness. I especially like to add a pinch of in our cinnamon sugar filling to help cut that sweetness.
About This recipe
There is something so satisfying about that first bite into a snickerdoodle. The sweetness, the tang- if baked correctly, the right amount of crunch and then chew! But what if I told you that these Snickerdoodle Blondies were even better than a cookie?
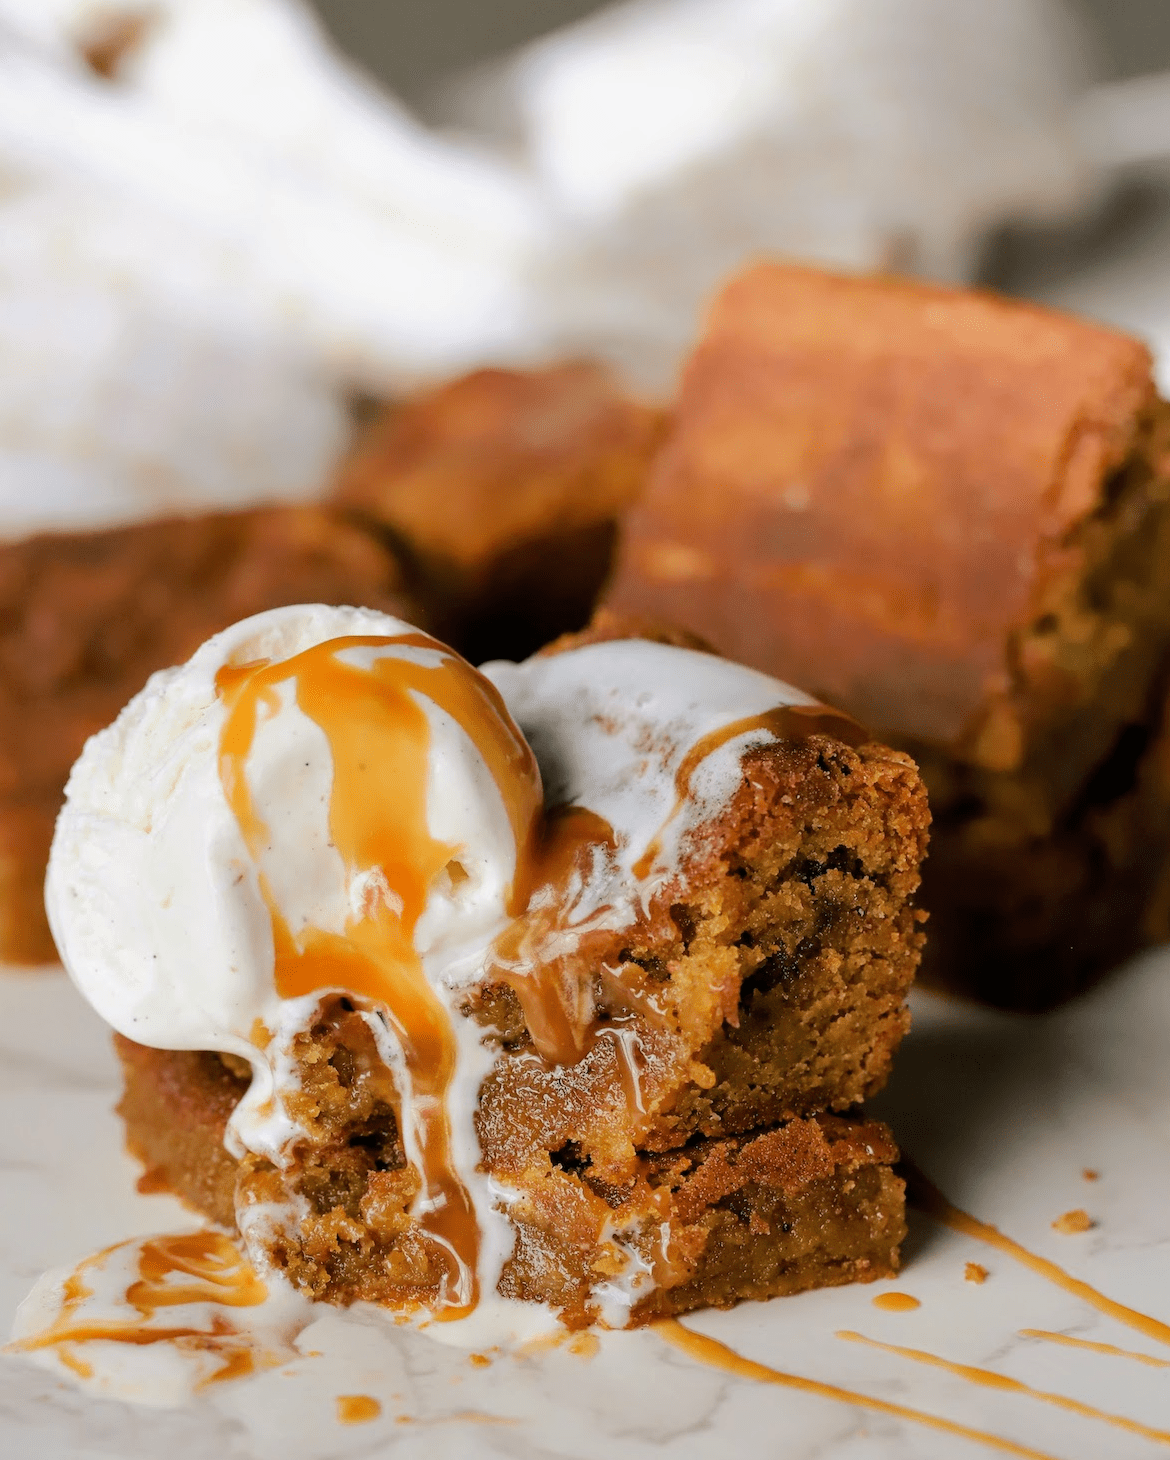
They have that same buttery, cinnamon-sugar flavor you love in a snickerdoodle, but in an easier, to whip up and just… better! They’re soft in the center, slightly crisp around the edges (especially those corner pieces, which happen to be my favorite!), and finished with a generous sprinkle of cinnamon sugar on top.
What I love about this recipe (or blondies in general!) is that they’re a no-fuss, one-bowl wonder. They come to together in just a few minutes and bake up pretty quick. The hardest part is waiting for them to cool. They are perfect for sharing, or keeping all to yourself. Just be sure not to overbake them! Taking these blondies out while the center is still a little soft is the secret to getting that delicious chewy texture.
FAQ’s
Helpful Tips
- Measure your flour carefully: I highly recommend weighing your ingredients for these blondies- especially flour. Adding too much flour will result in a dry and/or cakey blondie. If you don’t have a kitchen scale, do not pack your flour into a measuring cup- spoon in the flour and level it off with a butter knife.
- Don’t overmix the batter: Once the flour goes in, mix just until combined. Overmixing can make the blondies dense instead of soft and chewy.
- Use parchment paper with overhang: This makes it easy to lift the blondies out of the pan cleanly for neat slicing.
- Don’t overbake: For the best chewy texture, pull the blondies from the oven when the edges are set and lightly golden but the center still looks slightly underdone. They will continue to set as they cool in the pan, and this is what keeps them soft, fudgy, and moist instead of dry.
- Use the correct pan size: The thickness of your blondies affects the baking time. A smaller pan will produce thicker blondies and may require more time, while a larger pan will make thinner blondies and bake more quickly.
More Recipes!
Here are some more bar recipes you might enjoy!
White Chocolate Raspberry Cheesecake Bars
Salted Caramel Brown Butter Rice Krispie Treats
If you try this recipe, I would love your feedback! Please leave a star rating, a comment below or on the reel in Instagram! Also please share what you made and tag @eatmaudes !! Thank you so much for stopping by and making yumminess with me!
Snickerdoodle Blondies
**This post contains affiliate links. If you use these links to buy something, I may earn a commission at no extra cost to you
Equipment
Ingredients
Blondies
- 1 cup (227 g) unsalted butter, melted (see note in instructions for browning the butter, if desired)
- 1 cup (200 g) dark brown sugar, packed (light brown sugar works fine)
- ½ cup (100 g) granulated sugar
- 1 large egg + 1 large egg yolk, room temperature
- 1 1/4 tsp (6 mL) vanilla extract
- 2 cups (243 g) all-purpose flour
- ½ tsp (3 g) baking soda
- 1/4 tsp (1 g) baking powder
- 1 tsp (3 g) cornstarch
- ½ tsp (2 g) cream of tartar (or 1 tsp (5 ml) of white vinegar)
- ½ tsp (3 g) fine sea salt
Cinnamon Sugar Filing/Topping
- 4 tbsp (50 g) granulated sugar
- 1 + 3/4 tsp ground cinnamon
- 1/8 tsp fine sea salt
Instructions
Enable Step-by-Step Mode- Preheat oven to 350°F (175°C). Line an 8×8-inch (20×20 cm) pan with parchment paper, leaving a little overhang (for easy removal later). For the cinny sugar filling and topping, in a small bowl, add the sugar, cinnamon and salt and mix well. Set to the side.
- In a large bowl, using a hand whisk or rubber spatula, mix the cooled butter, brown sugar and granulated sugar until combined. Beat in the egg and egg yolk, then mix in the vanilla extract.
- In a separate bowl, whisk together the flour, baking soda, baking powder, cornstarch, cream of tartar, and salt. If using a hand whisk, switch to a rubber spatula and gradually fold the dry mixture into the wet ingredients until just combined (please don’t overmix).
- Spread half of the blondie batter evenly into the prepared pan. Sprinkle the cinnamon-sugar filling evenly over the batter. Gently spread the remaining batter on top (it helps to drop spoonfuls and smooth carefully with an offset spatula). Sprinkle the top with the extra cinnamon-sugar mixture.
- Bake for 30-35 minutes, until the edges are golden and a toothpick inserted in the center comes out mostly clean (a few moist crumbs are okay). Note: Ovens do vary, and these blondies are thick, so they could take up to 38 minutes depending on your oven so please look at visual cues instead of the clock! When I take my blondies out of the oven, they still have a jiggle in the middle, but the edges are set and golden brown. The jiggle is a good sign.
- Let blondies cool completely in the pan on a wire rack (this will take about 1 hour). Lift out with the parchment and cut into squares. I like to serve with ice cream and caramel sauce
These are delish!!! So chewy and actually tastes like a snickerdoodle and not just cinnamon.
Hi Kasey! Thanks so much for trying and for the feedback! Its very validating to read your message because I thought the exact same! Im glad you enjoy! <3
If I want to sub in vinegar instead of cream of tartar, do i add it in at the end or with the wet ingredients?
Hi Malak! Great question! Ive been adding it at the same time I add my dry ingredients. I think either with the wet or dry works just fine as long as it gets incorporated! Let me know if you have any additional questions!
Hi! Do you think this can be doubled and baked in a 9×13?
Thank you!
Hi Helen,
Thanks for your question! I actually havent tested this but I think I should add it to my list. I suspect that you can, I would just be careful with the bake time- it will likely fluctuate. I would start checking about the 25 min mark and go from there. I hope this helps- please let me know if you have any other questions! ox maude
Hi! Just made these and they taste fantastic, particularly after just cooling a little! A few questions- I only had a 9×9 tin, so I proportionately increased all the ingredients by the correct percentage, and cooked them for 29 minutes but wonder if I should have cooked them actually a little less? Could it be that they only need 25/27 minutes?
I found now that they’re fully cooled although they’re fudgy and chewy, they’re very very dense and ever so flighty cakey.
My other question was, with browning the butter off as you suggested, I increased the butter volume so that the browned weight was correct, but notably in a lot of other recipes when doing this, people replace the lost water volume with water/ ice, as it is just water lost and by adding more butter it simply adds more fat. Have you ever tried with water to replace the lost moisture volume? I wonder if this contributed to the particular dense texture also?
Really looking forwards to trying them again soon 🙂
Hi Darya,
Im so glad to hear that you loved these blondies! I love them when they are warm too 😀 So this is interesting about the brown butter! Yes, I have played around with adding both butter and water back in after browning butter. For this recipe, because I like my blondies dense :-D, I opted for the 1 1/4 cup of butter instead of additional butter or water. The density you are referring to makes sense, but its hard for me to say for certain since the proportions were increased and you used a larger pan (I would need to test it!). But I will definitely take this back to testing in the near future, I appreciate your thoughts and insights- its super helpful for me! Thanks again! <3